
Have you ever encountered the frustrating situation of finding milky oil in your engine? If you’ve ever seen a milky material coming from your automobile’s engine, you might be asking How To Flush Milky Oil from Engine. Before implementing any remedial measures, it’s critical to identify the underlying source of milky oil, which can be caused by a variety of different problems.
The presence of water in the oil is the cause of milky oil, and it can cause breakdown and damage to the engine’s internal components, reducing its service life. Therefore, it is essential to know how to flush milky oil from engine as quickly and efficiently as possible. If you are experiencing milky oil in your vehicle’s engine, don’t panic.
Follow this guide step by step and learn how to flush the milky oil from the engine effectively. I will walk you through the steps you need to take to analyze. These steps will also fix the problem before it causes significant damage, ensuring your vehicle’s optimal and smooth performance again. So, let’s get started!
What is Milky Engine Oil?
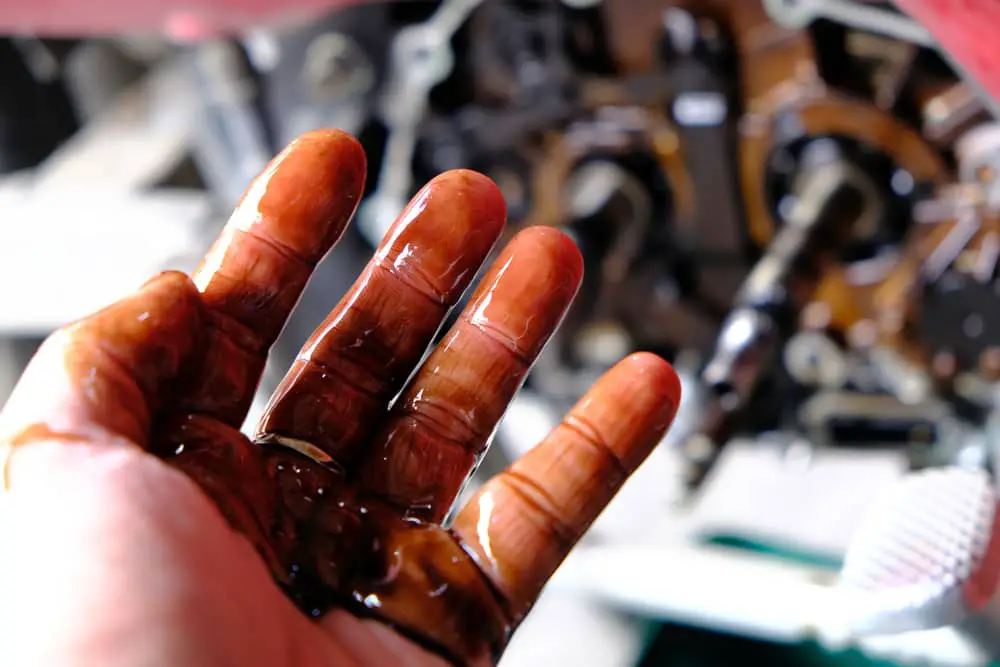
From the name milk oil, we understand that this milky oil’s color is usually slightly milky white or light brown. It is staler than normal engine oil. There may also be water in the oil cylinder or injectors. However, when the oil inside the engine becomes milky or foamy, it can signal some significant mechanical faults.
If left unaddressed, it can cause extreme damage to the engine and reduce the vehicle’s overall performance. So, for sure, you need to fix this problem. If you take proper care and maintenance, you will get rid of this problem. You should run your vehicles after solving this problem.
The Reason for Milky Oil
First, you need to know the reason why milky oil may take place in your vehicle engine oil. Typically, it can be said that milky oil can appear if we do not take proper care of our vehicles. There are further possible causes of this milky oil. Let’s check below:
Head Gasket Damage
The head gasket stays between the cylinder head and the engine. It keeps the oil and the coolant separate. Somehow the gasket cracks then oil and coolant will mix. This may cause milky oil to appear. While this is not the sole and definitive cause of head gasket failure, milky oil can be a good indicator. So you need to find the source of the sure sign of head gasket damage.
Cracked Cylinder Head
If the cylinder head ever cracks, the coolant will enter the oil compartment. This will create a chocolate-milky oil appearance. A cracked cylinder head is never good for a car. This can be one of the reasons for the formation of milky oil, among various problems.
Engine Block Damage
The cracked engine block is also a risk factor for milky oil accumulation. Coolant can enter the engine oil if the block is affected. When the engine block is damaged, the engine cannot work correctly and smoothly. In this case, milky oil is seen.
Air Cooler Leakage
The Turbocharger engine has an air cooler as part of it. It remains coolant and engine oil. You will see them in different sections. If any crack forms there, the oils will look milky.
Uses Of Poor Oil
Another reason for milky oil is the use of poor oil. If you use poor oil instead of the recommended oil, the car engine may not perform at its best. At one point, the milky oil appeared. An expert always knows which oil is perfect for your vehicle. So, try to use the recommended oil.
Now that we have an understanding of the possible sources of milky oil let’s move on to the best and easy way to flush milky oil from the engine.
Other Possible Causes
It’s crucial to remember that milky oil might indicate a more significant underlying issue alongside or in addition to the aforementioned causes. For instance, if the level of coolant is low and the oil is milky, this can be a sign of an engine block fracture. Therefore, it’s crucial to get your car checked out by a qualified technician as soon as you see milky oil.
How to Flush Milky Oil From Engine: Step-by-step Guide
Worried about the milky engine oil of your car? As you already know that milky oil is toxic for your vehicle’s engine. So, at this point, you will get the solutions to this problem. Now I’m going to discuss the step-by-step process of flushing milky oil from the engine:
Step-01: Collect the Required Tools
Preferably, you need all the required tools that are important to start the task. So it will be easy to complete your work perfectly and accurately. If the tools are haphazard or in different places, it can be difficult to work.
Step-02: Park the Car on a Surface
Park your vehicle on an open surface. It will be very convenient to work. Check that the engine is off and cold before starting work. Set the emergency brake, and if there is an engine dipstick, remove it. This step can actually be counted as the first step of starting the actual work.
Step-03: Drain the Milky Oil
You have to remove the oil drain plug situated on the oil pan to allow the oil to flow into an oil drain pan. To prevent damaging the threads, utilize the appropriate wrench or socket size when removing the drain plug. Certain vehicles might have a magnetic drain plug intended to gather metal particles from the oil.
If this is the case, make sure to clean the magnetic drain plug before reinstalling it. Once the oil has completely drained, it is crucial to dispose of the used oil correctly. Improper disposal of old oil can pose environmental hazards.
Step-04: Remove the Engine Oil Filter Plug
First, find where the oil filter is and then remove it with a filter wrench. You will notice that there is a rug next to the oil filter. Debris should be cleaned thoroughly with this rug. As a result, the debris will not get a chance to enter the engine.
Step-05: Refill the Oil
Before pouring in new oil, you need to understand which oil is perfect for the car. You can add new oil if you want, or you can use the old type of oil. One thing to be careful about is that the type of oil that is said to be used in the owner’s manual should be filled up.
Step-06: Replace the Oil Filter
The 6th step how to flush the milky oil from the engine is to replace the engine oil filter. Install the oil filter after refilling the oil completely. It should be done as per the manufacturer’s specifications. Try to follow all the instructions, and let’s check for the next step.
Step-07: Start the Engine
Start your engine and run your car around for at least 10 to 15 minutes. This will help to circulate the new oil thoroughly.
Step-08: Check the Oil Level
To ensure the correct oil level, utilize the dipstick to check and supplement with additional oil if needed. Wait for a few minutes after the engine has been running to obtain an accurate reading. If the engine oil level is insufficient, add more oil to reach the appropriate level.
Step-09: Fix Leaks
Promptly address any oil leaks you observe. Resolving oil leaks is crucial to prevent water contamination and other associated issues. Take immediate action to repair any identified leaks to maintain the integrity of the vehicle’s systems.
Step-10: Drive Your Car
Test-drive your car to ensure everything is functioning before you put it back on the road. Be sure there are no odd sensations or noises, as well as pay careful attention to your vehicle’s oil pressure indicator to be sure it is reading correctly.
The FAQs
Is Milky Oil Safe to Drive With?
Absolutely not! Milky oil is harmful to your engine. Milky oil lacks the necessary lubricating properties, leading to increased friction and engine damage. If used, the car may experience significant issues, and its ability to run would be severely compromised, potentially resulting in engine failure.
How Do You Get Rid of Milky Oil?
Your engine has to be cleaned out with flushing oil in order to solve milky oil. You should have the car adequately maintained since other parts, such as the head gasket, additionally require to be checked for damage.
Is Milky Oil Always a Head Gasket?
A faulty head gasket isn’t always indicated by milky oil on the dipstick, but it might indicate coolant seeping into the oil pan. Too frequently, this symptom is misdiagnosed as a faulty head gasket, leading to unnecessary repairs. There are several other factors that might potentially contribute to this, and it is seldom a head gasket.
Final Thoughts
In conclusion, I think that you have already found your solution for how to flush milky oil from engine, as I discussed in the step-by-step guide to flush milky oil from engine. Once you follow the steps, you should go to a professional assistant to fix all the issues. Flushing the engine’s milky oil will ensure the good health of the engine.
However, following the above steps can help flush out milky oil and prevent further damage to your vehicle’s engine. Do not neglect the car’s engine. Check the engine regularly to avoid any problems. Enjoy smooth driving!